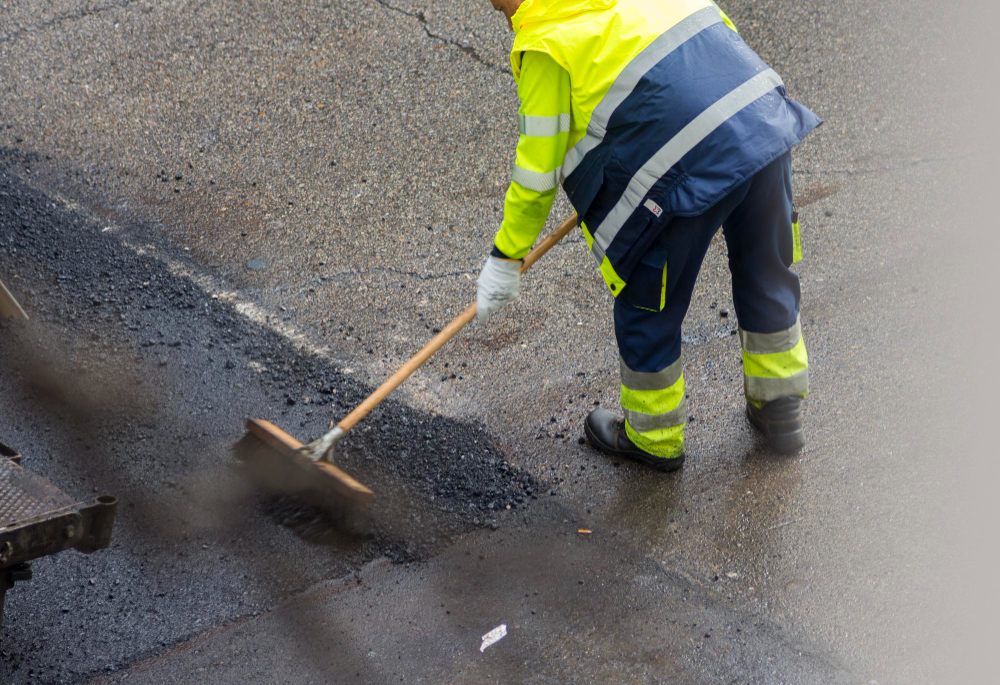
Few things showcase the beauty and maintenance of a home like a well-kept, smooth asphalt driveway. But over time, the elements and use can take their toll, leaving your once-pristine path looking cracked and worn. Luckily, a little asphalt repair can go a long way in restoring both function and aesthetics to your driveway, enhancing your home's curb appeal and value. Before you roll up your sleeves, it's essential to understand the process of professional asphalt repair to ensure a successful outcome. In this comprehensive guide, you'll walk through each step, from assessing the damage to the finishing touches, so your driveway can once again be the pride of your property.
The first and most crucial step of any driveway repair project is understanding the extent of the damage. From small cracks to large potholes, each issue requires a different approach. For minor cracks, you'll likely need sealant, while larger areas may require patching or an overlay. Here's how to assess the damage:
Inspect your driveway carefully for any visible cracks. Note their size and location. Hairline cracks may not require immediate attention, but they can quickly worsen over time and should be monitored.
Potholes are usually easy to spot but take note of their depth and the materials exposed. Potholes can be a safety hazard and should be repaired promptly by a professional.
Water is the enemy of asphalt. Look for any puddling or standing water on your driveway. These areas may need to be reshaped or have the sub-base material addressed.
If your driveway is significantly uneven or has sections that are sinking, it may be a sign of a more extensive sub-base issue and will require professional evaluation and repair.
Once you've identified the type and extent of damage, it's time to gather your materials. For smaller repairs, you may only need sealant or a patch mix. Larger repairs can call for an overlay or even replacement in severe cases. Here's a general list of what you might need:
Make sure to choose quality materials that match the color and texture of your existing asphalt to ensure a seamless repair job.
Before any repair work begins, the area needs to be cleared of debris and any growth like grass or weeds. A clean surface ensures that the repair materials adhere properly and results in a better-looking, longer-lasting repair. Use a broom to sweep away loose debris and a weed killer if necessary to prevent regrowth.
For larger cracks or potholes, you'll need to create a clean, well-defined area to apply the patch. Use a saw or a hammer and chisel to cut straight edges around the damaged section. Be careful not to extend the damage further.
The depth of your repair area is critical, especially for potholes. You'll need to remove loose material until you reach stable, compacted asphalt. This can sometimes involve removing several inches of material.
Water, poor installation, and heavy traffic can cause your asphalt to degrade. Look for the causes of the damage and fix any underlying problems:
If standing water is an issue, you may need to adjust the slope or add a drainage system like a trench or a French drain to redirect water away from your driveway.
A proper sub-base is essential for the longevity of your driveway. If you suspect sub-base issues, consult an expert. You might need to add or replace the base material, or even consider a new installation.
With the area prepped and underlying issues addressed, it's time to apply your chosen repair material. Follow the manufacturer's instructions for the specific product you've selected. Here's a general outline:
For small cracks, simply fill the crack with sealant using a squeegee to ensure it's level with the surrounding asphalt.
Mix the patch material according to the instructions. It should be workable but not too runny. Fill the repair area with the mix, slightly overfilling to allow for compaction. Use a trowel to spread and level the material.
Use a tamper to compact the material firmly. Start at the center of the repair and work your way outwards to help push out any air pockets. The patch should be slightly higher than the surrounding driveway to allow for settling.
Once the repair material is in place, there are a few more steps to complete the job.
To extend the life of the repair and protect it from the elements, apply a sealant over the repaired area and the entire driveway if necessary. Do this once the patch has cured, which can take a few days.
Keep traffic off the repaired area until it's fully cured. This can take several days, depending on the material and weather conditions. Use barriers or cones if necessary.
With the repair complete, regular maintenance will ensure your driveway stays in top shape. In addition to sealing your driveway every few years, keep an eye out for new damage and address it promptly.
If the repair process seems too complex or extensive for your needs, it's always best to consult with a professional. DIY repairs are suitable for minor damage, but larger issues can compromise the integrity of the driveway and should be handled by an experienced contractor.
Contact a Professional
Professional asphalt contractors in Sanford, FL, have the expertise and equipment to tackle any repair job, big or small. If you're in need of enhancements, complete driveway overhaul, or asphalt repairs in Sanford, FL, contact Florida Sealcoating today to request an estimate. Their team of professionals will ensure a smooth and successful repair, leaving you with a driveway you can be proud of.